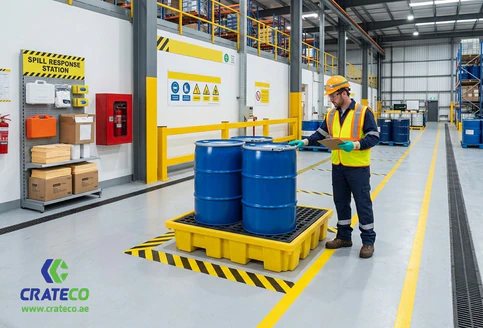
To clean and sanitize plastic crates for food-grade operations, follow 5 steps: pre-rinse, wash, rinse, sanitize, and dry. Complete every step in order, after every single use. Skipping even one step can leave pathogens on the surface and put your entire batch at risk.
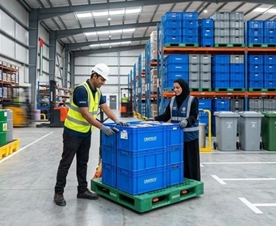
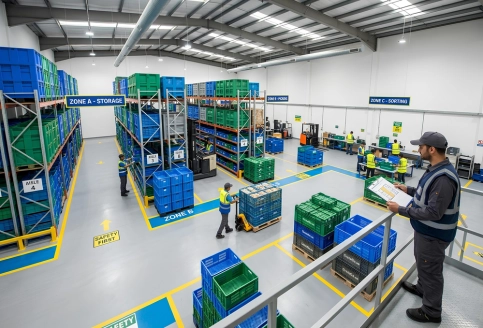
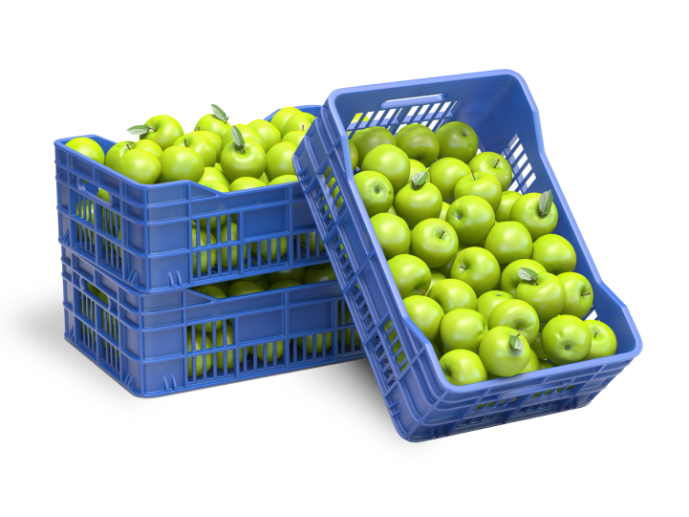
Plastic crates move through every part of the food supply chain. They carry fresh produce, fish, meat, dairy, and bakery goods from farms and ports to cold stores and retail shelves. Every time a crate is reused without proper cleaning, it carries residue from the last load into the next one.
In hot climates, this risk is even higher. Bacteria multiply faster at high temperatures, and organic residue left on an unclean crate can reach unsafe levels within hours. A single contaminated crate can trigger a product recall, a failed inspection, or a loss of food safety certification.
This guide gives you the exact protocol, the right sanitizer choices backed by research, and the practical rules that food operations need to stay compliant and protect their products.
Plastic crates carry food at every stage of the supply chain. They hold produce, fish, dairy, bakery goods, and meat. An unclean crate spreads bacteria to every product loaded into it.
Unclean plastic crates can carry Listeria, Salmonella, and E. coli. A 2021 study published in Foods journal (PubMed) confirmed that reusable plastic crates can transfer Salmonella to fresh produce through direct surface contact.
Poor crate sanitation causes 5 serious problems in food operations:
Bacterial cross-contamination between product batches, as pathogens survive on plastic for days
Failed hygiene inspections by food safety authorities, leading to facility shutdowns
Product recalls and stock losses from confirmed contamination events
Faster crate wear, as organic residue buildup cuts crate service life by up to 40%
Loss of HACCP certification, removing your business from approved supplier lists for retailers, including Carrefour, Lulu Hypermarket, and Spinneys
Contamination does not always start with the food. It often starts with the container.
The crate material determines how well sanitation works. Choose the wrong material, and no cleaning protocol will fully compensate.
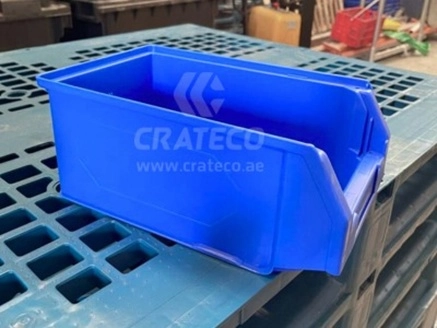
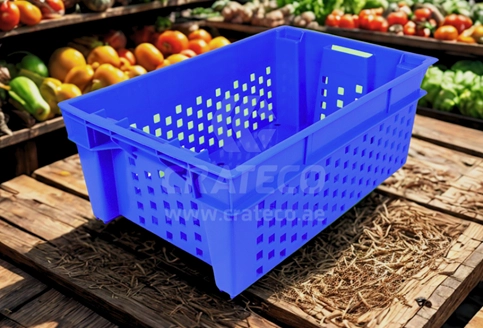
Food-grade plastic crates made from HDPE (High-Density Polyethylene) or PP (Polypropylene) are the industry standard. EFSA has confirmed HDPE and PP crates as safe for closed-loop food contact use. This covers fruit and vegetable applications specifically.
These materials offer 3 clear advantages:
Non-porous surfaces that resist biofilm formation and bacterial attachment
Chemical compatibility with all approved sanitizers, including chlorine, QACs, and peracetic acid
Thermal stability that handles wash cycles up to 82 degrees Celsius
Scratched plastic surfaces become hygiene hazards. A 2025 review on PubMed found that rough plastic surfaces increase microbial attachment due to their hydrophobic properties. This is why abrasive tools must never be used on food-grade crates.
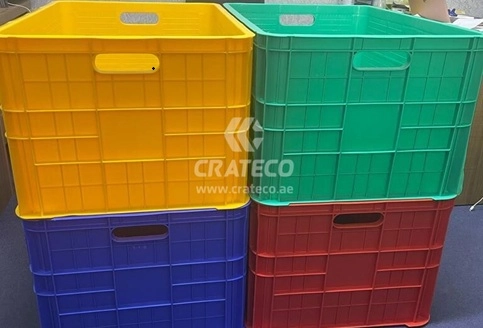
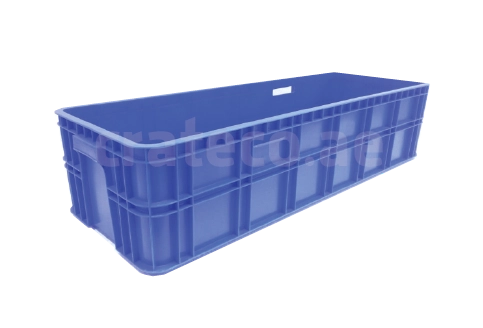
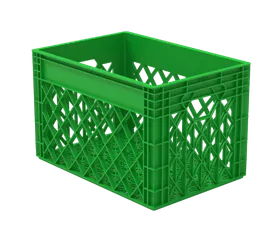
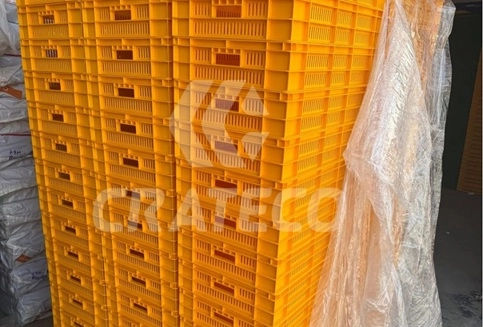
Mesh-sided crates trap organic residue in their grid openings. Closed-base crates build up protein residue at corners and lid seals. Both types need focused attention during each cleaning cycle.
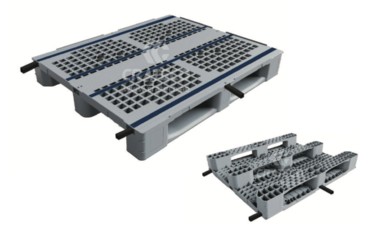
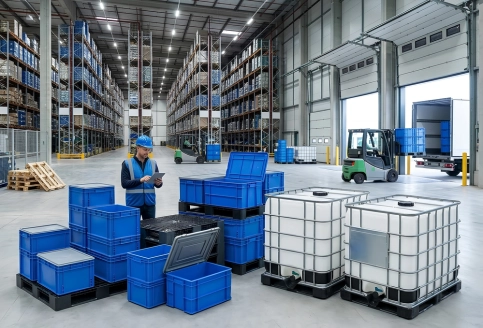
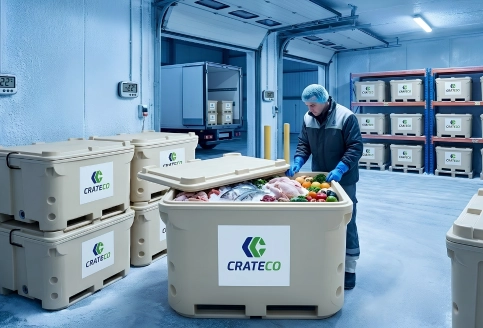
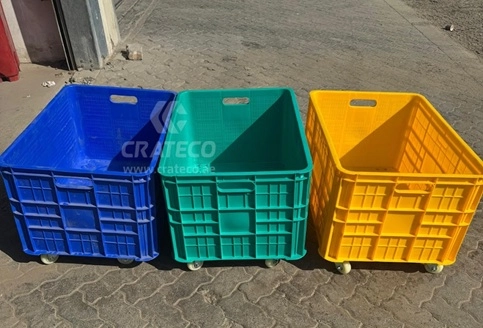
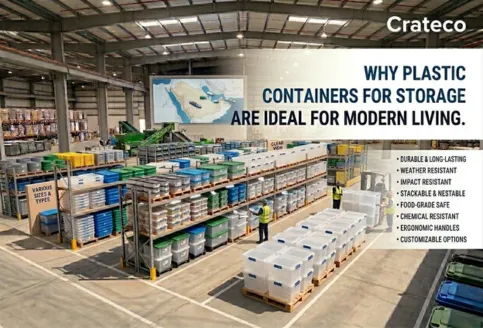
Crateco supplies food-grade HDPE and PP crates across the UAE and GCC. The range includes ventilated, closed, fish, dates, and bakery crates, all built for consistent sanitation performance.
Rinse all food residue off the crate right after use. Never let residue dry on the surface.
Use warm water at 40 to 50 degrees Celsius. This loosens proteins and sugars without cooking them onto the plastic. For meat and fish crates, warm water is essential. Cold water does not break down protein residue well.
For mesh and ventilated crates, aim the nozzle at multiple angles. This flushes residue out of every grid opening. Residue left in mesh gaps is very hard to remove in later steps.
The FAO Technical Guide on Reusable Plastic Crates lists this as a core Good Manufacturing Practice (GMP). It applies to all fresh produce operations globally.
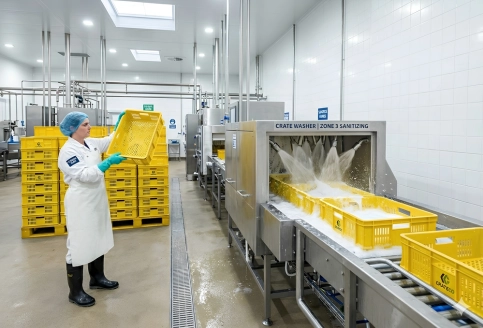
Apply a food-safe detergent approved by your local food safety authority. Choose one of these 3 wash methods based on your operation size:
Pressure washing at 1,200 to 1,800 PSI, suited for large crate fleets and high-volume facilities
Manual scrubbing with soft-bristle brushes or non-abrasive pads, suited for smaller operations
Automated crate-wash systems, which deliver the most consistent results at high daily volumes
Never use steel wool, abrasive pads, or harsh solvents. These scratch the plastic and create grooves where bacteria hide permanently.
Rinse every crate with clean, potable water until the runoff is fully clear.
Detergent left on the surface blocks sanitizers from working in the next step. It also leaves a film that attracts new contamination faster than a clean surface would.
Give extra attention to these 4 spots:
Base corners on closed crates where detergent collects
Lid seal channels on lidded cold-chain crates
Grid intersections on ventilated and harvest crates
Handle recesses and stacking feet on jumbo crates
A clean surface is not a safe surface. Sanitizing kills the pathogens that washing cannot remove.
These are the 3 most effective sanitizers for food-contact plastic:
Chlorine solution at 50 to 200 ppm. This is the standard for food contact surfaces. Per Oklahoma State University Extension, a contact time of 1 to 5 minutes achieves a thorough kill at this range. Chlorine loses efficacy above pH 7.5 and in the presence of organic matter.
Quaternary ammonium compounds (QACs) at 150 to 400 ppm. QACs cling to plastic surfaces and work well in grid recesses. A 2019 study in Frontiers in Microbiology (PubMed) tested QAC at 400 ppm on Listeria biofilms. It achieved 3.0 to 3.7 log CFU reduction on food-contact surfaces in 5 minutes.
Peracetic acid (PAA) at up to 200 ppm. PAA works at temperatures from 0 to 40 degrees Celsius. It breaks down into harmless byproducts after use. The same PMC study found that 200 ppm PAA achieved a 4.0 to 4.5 log CFU reduction of Listeria in 5 minutes.
Use the spray method for most operations. Point the nozzle at multiple angles to push sanitizer into mesh openings. For bottle crates and fully closed items, use the immersion method. Submerge completely and agitate to remove trapped air bubbles.
Check sanitizer concentration with test strips before every cycle. Under-concentration fails to kill pathogens. Over-concentration wastes chemicals and can damage crate surfaces over time. Always follow the dwell time on the product label.
Do not use thick or foamy sanitizers on ventilated crates. Thin solutions penetrate the mesh better and rinse cleaner.
Dry every crate fully before stacking or putting it back into use.
Wet crates stacked together trap moisture. This creates conditions where mold, Listeria, and other pathogens grow quickly.
Air drying on vertical racks is the most reliable method. It allows full drainage from every surface. For high-volume operations, forced-air or air-knife drying cuts drying time by 60 to 70% and reduces recontamination risk.
After drying, do a final visual check. Look for:
Cracks or fractures in the crate walls and base
Deformed stacking ribs
Residual soil in corners or mesh
Damaged lid seals
Take damaged crates out of service right away. Cracks create hiding spots for bacteria that no sanitizer can reach.
High heat speeds up bacterial growth on uncleaned crates.
Clean food-grade crates within 4 hours of last use during the summer months. During cooler months, the maximum gap is 8 hours. Hot operating environments require faster turnaround between use and cleaning.
For cold-chain operations, avoid moving crates from cold storage straight into a hot wash cycle. Let the crates sit at room temperature for 20 minutes first. This prevents micro-fractures from thermal shock, which build up over time and shorten crate life.
For dates and produce crates, increase detergent dwell time by 30 to 50% during the wash step. Sugar residue from these products takes longer to dissolve. For bakery crates with fat and starch buildup, use a lipase-active detergent. These break down fat residues more effectively than standard alkaline cleaners.
The 7 most damaging mistakes food operations make when cleaning plastic crates are:
Skipping the pre-rinse, which locks food residue onto the surface and reduces wash effectiveness
Using abrasive tools that scratch the plastic and create permanent bacterial harborage points
Not cleaning promptly after use, allowing residue to dry, and bacteria to grow
Not giving sanitizer enough contact time prevents it from killing pathogens
Stacking wet crates, which creates conditions for Listeria and mold growth
Using non-approved chemicals, which puts HACCP and food safety certification at risk
Returning cracked crates to service, as cracks make future sanitation cycles ineffective
A solid crate sanitation schedule runs on 4 cycles:
Daily: Every crate that contacts food must complete the full 5-step protocol between each use. No exceptions.
Weekly: Inspect the full fleet for damage. Use longer sanitizer dwell times on mesh crates. Descalcify automated wash systems to prevent mineral buildup from hard water.
Monthly: Log every cleaning cycle. Record the date, operator, chemical batch, concentration, and temperature. HACCP auditors and food safety inspectors require this documentation during visits.
Quarterly: Review the entire fleet. Retire crates with cracks, deep staining, warped bases, or surface crazing that does not clean up.
Clean crates can get recontaminated if stored incorrectly. These 4 habits prevent that:
Store clean crates in a dedicated clean zone, away from dirty crates waiting to be washed.
Cover stacked clean crates with breathable covers if left overnight in open warehouse spaces.
Never put clean crates directly on warehouse floors. Use hygienic flat pallets or racking.
Require staff to wear clean gloves when handling sanitized crates. One touch from bare hands transfers bacteria to a clean surface.
Crate design has a direct effect on how well cleaning works.
Crates with smooth internal surfaces, rounded corners, and drainage-optimized bases clean faster and more thoroughly. Crates with sharp internal angles and flat bases pool water and trap residue. Both of these make sanitation harder and less reliable.
The FAO reports that properly maintained plastic crates last up to 10 years in active supply chains. Buying quality crates is a long-term investment in both food safety and cost control.
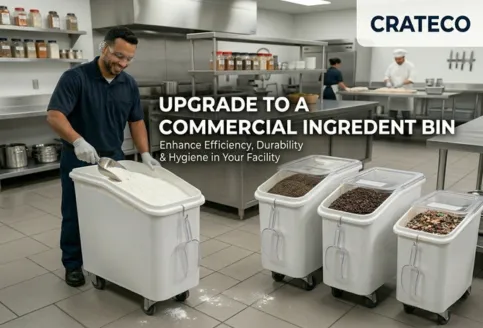
Crateco supplies food-grade plastic crates to food manufacturers, cold-chain operators, and distributors across Saudi Arabia, Oman, Qatar, Kuwait, Bahrain, and the MENA region. The range includes ventilated, closed, nestable, fish, dates, bakery, and jumbo crates, all built for professional food operations.
Cleaning and sanitizing plastic crates is not complicated. It requires the right steps, the right chemicals, and the discipline to do it after every single use.
Following the 5-step protocol protects your products from contamination. It also extends your crate life and keeps your operation compliant with food safety regulations.
Sanitize plastic crates after every use. Complete the full 5-step protocol before any crate re-enters food contact service. In hot operating conditions, start cleaning within 4 hours of last use during the summer months.
Use chlorine at 50 to 200 ppm, QACs at 150 to 400 ppm, or PAA at up to 200 ppm for food-contact surfaces. Always check the concentration with the correct test strips before applying.
HDPE and PP provide a non-porous surface that responds well to the 5-step protocol. EFSA has confirmed these materials as suitable for closed-loop food contact use. Porous materials cannot be fully sanitized because bacteria settle at depths that chemicals cannot reach.
Residual detergent blocks the sanitizer and reduces its ability to kill pathogens. It also leaves a film that attracts new contamination. Rinse until the runoff runs completely clear before applying sanitizer.